
Back to the garage: Document case/coffee table
Table of contents for Document case
- Back to the garage: Document case/coffee table
- Document case drawers completed
- Coffee table carcass and drawers finished
- Finished document case
 With warm weather finally here and my sinus infection on the way out, I can return to outdoors projects like fixing the backyard fence and pruning that annoying tree. Yeah, right. Those sound way too ambitious. Instead I’m going to start work on the very large document case/coffee table I’ve been dreaming of for years.
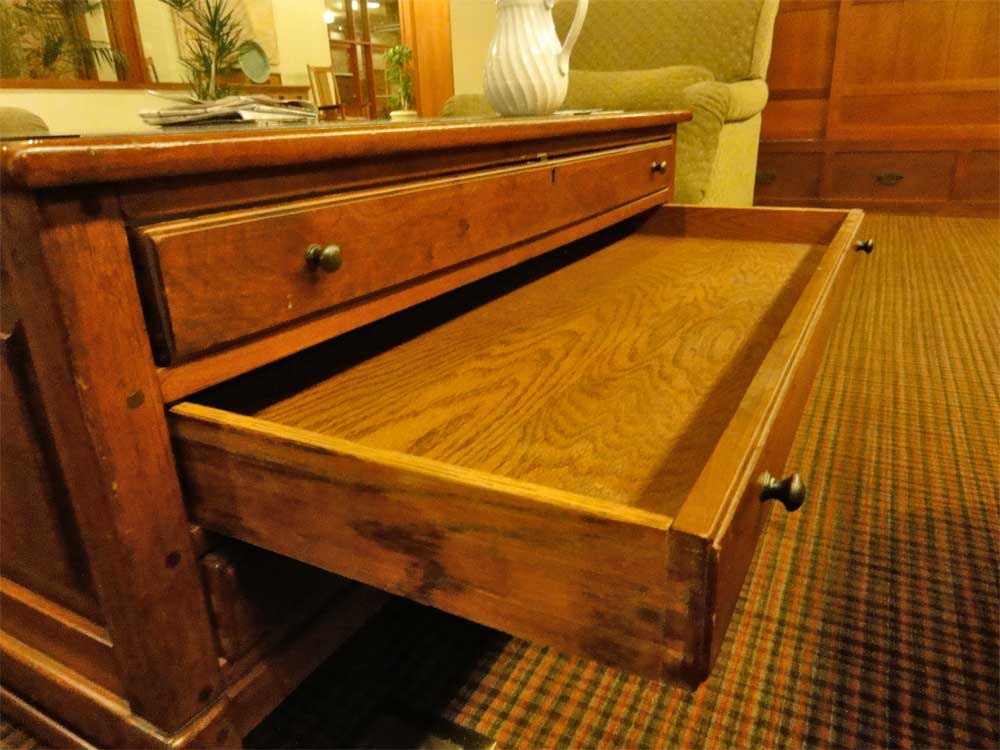
So what’s a document case and why do I need one? Well over the years we’ve accumulated a number of mementos from trips that need to be displayed but which take up a large amount of space. We’ve got many posters, photos, postcards, hiking maps, historic maps, museum maps, exhibition catalogs and buttons from trips to San Francisco, the Black Hills, London, etc. Some are very large and remain rolled up and it’s a pain to unroll them to display. So I thought it would be nice to have a very large coffee table with large, shallow drawers in which to display these materials. The top of this document case/coffee table would be glass and it should be easy to switch out drawers.
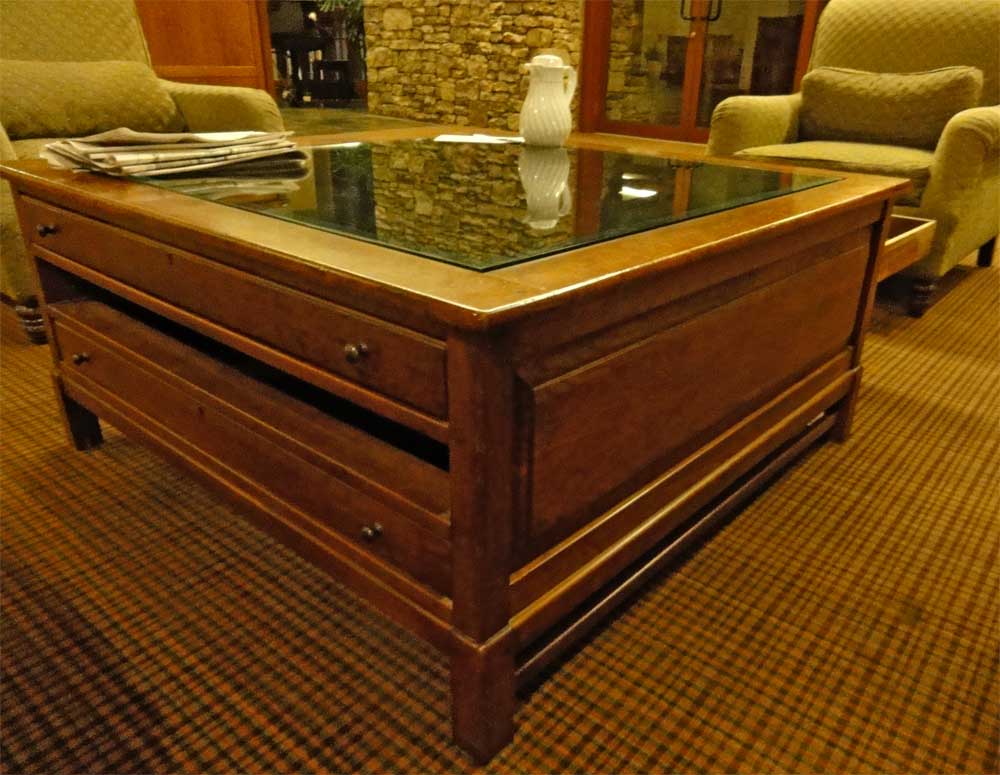
I’ve always been a little leery of building it, however, without ever seeing a proof of concept, but on a 2011 trip to Atlanta, I stayed at the Emory Conference Center, which is furnished throughout with Arts and Crafts furniture. The whole center/hotel is Frank Lloyd Wright inspired. In the lobby, I found the very large coffee table above, at least four foot square with three very large drawers and a glass top.
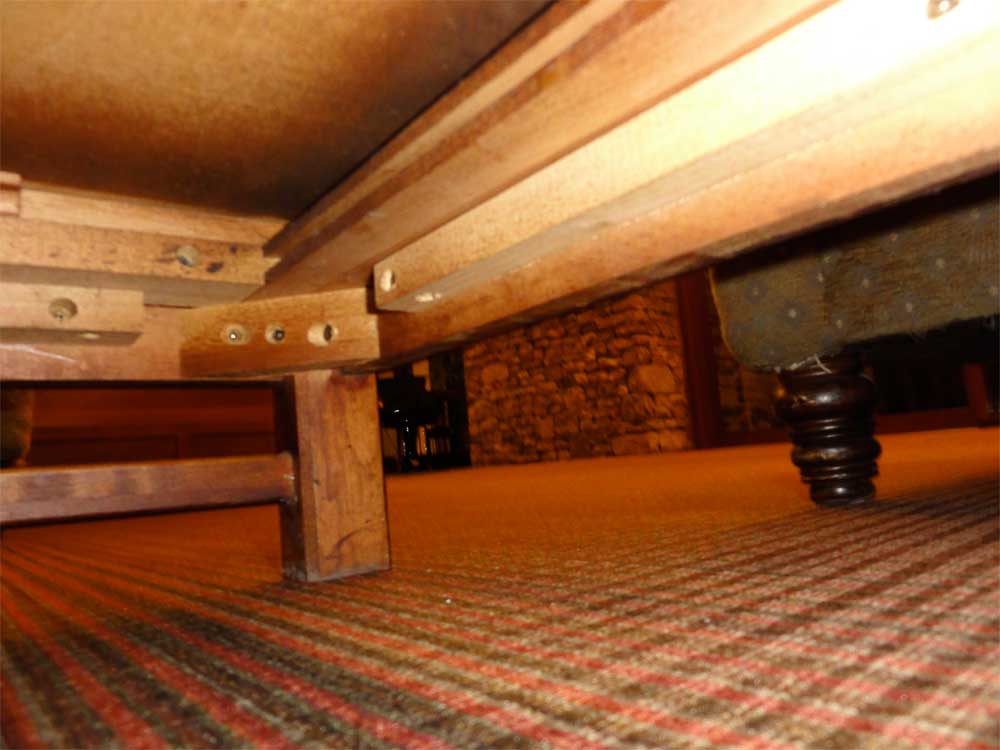
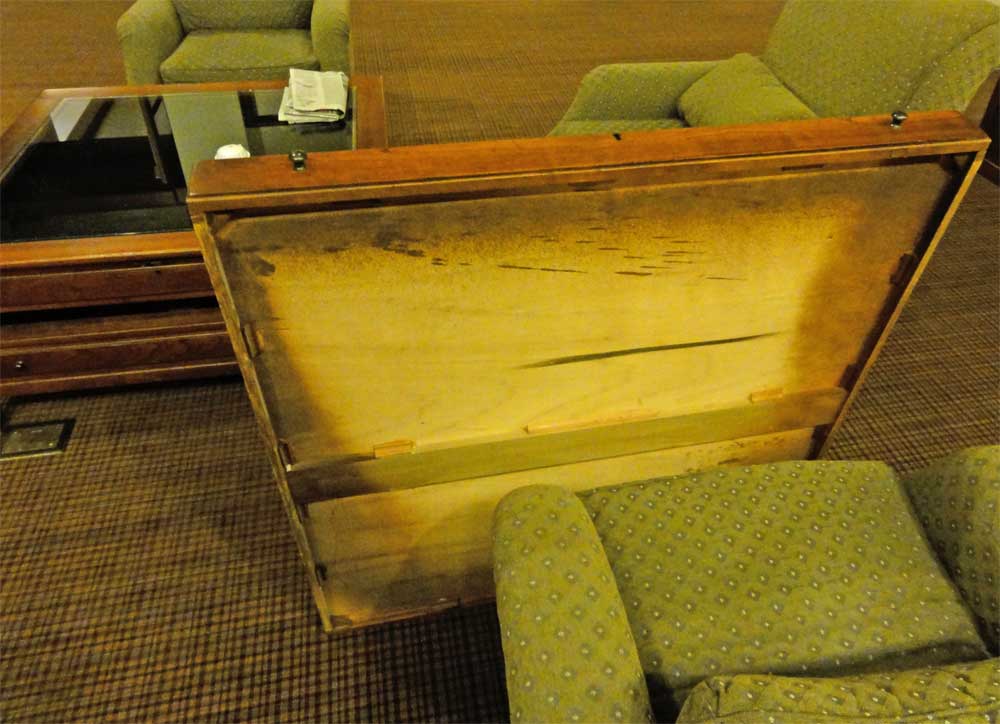
Details include: Dowels secure the mortise and tenon joints of the tabletop; half-blind dovetails join drawers sides with the drawer face; drawers are fitted with locks; cross members stiffen the wide drawers; dowels lock the drawer dividers attached to the legs with mortise and tenon joints; drawer dividers are screwed into the side panels; side panels are beveled; angled brackets join the lower rails with pocket screws; and short segments of cavetto molding are glued to secure the drawer bottoms to the sides and to the cross member. I wonder at these last two details: were they needed after old glue failed?
There’s an awful lot of wood here. The drawer bottoms are oak plywood and the side panels are thick enough that the drawer dividers are attached with screws. The top is at least 7/8″ thick. I can’t afford to make something this nice nor do I want to cut all those dovetail joins, so instead I’m economizing and simplifying my design. I have some leftover 3/16″ oak plywood I will use for the side panels and the drawer bottoms will just be hardboard, painted mission red. I did have plans to laminate sheet metal to one drawer bottom, allowing unrolled maps and posters to be held down with magnets, but I’ll probably drop that idea because of the expense (those rare earth magnets cost a bundle) and bother.
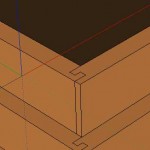
I’m going to go with straight legs (the antique pictured has a stepped leg) 2-1/2″ square, made as usual with four 3/4″ oak plywood planks cut with 45° edges and glued together to make a hollow leg. (By the way, that 3/4″ plywood is more like 23/32″ or 47/64″ thick.)
 Instead of dovetail joints, I’ll join the drawer sides to the front with a locking rabbet joint, which I should be able to cut with a router. I’ll use small dowels to further lock the joints.
I’m guessing the wood will cost about $250 and the trick will be to buy as long and as wide boards as I can transport in our Honda Fit (maximum 9′ length). A cutting plan will be important to keep the cost down.
The major expense will be the inset glass top, about 41 by 30 inches, 3/8″ thick. According to the various pricing calculators for online ordering, tempered glass that size with a simple polished edge will cost about $250. It should support about 300 pounds.
I won’t add locks to the drawers, but I will put in swivel down chocks on one side (to act as a stop when closing the drawers from the other side). I like being able to pull out the drawers from either side.
I am worried whether the drawer dividers can support the weight of the drawers. The drawers won’t weigh much for their size and I don’t think the drawer contents will be that heavy. You can only put in so many maps and posters before it becomes difficult to dig through the contents. But the drawer dividers are attached to the legs with four tenons and are otherwise unsupported. I am glueing and nailing 1/4″ strips (probably shoe molding) to the edges of the dividers to act as tracks and which should stiffen the dividers as well.
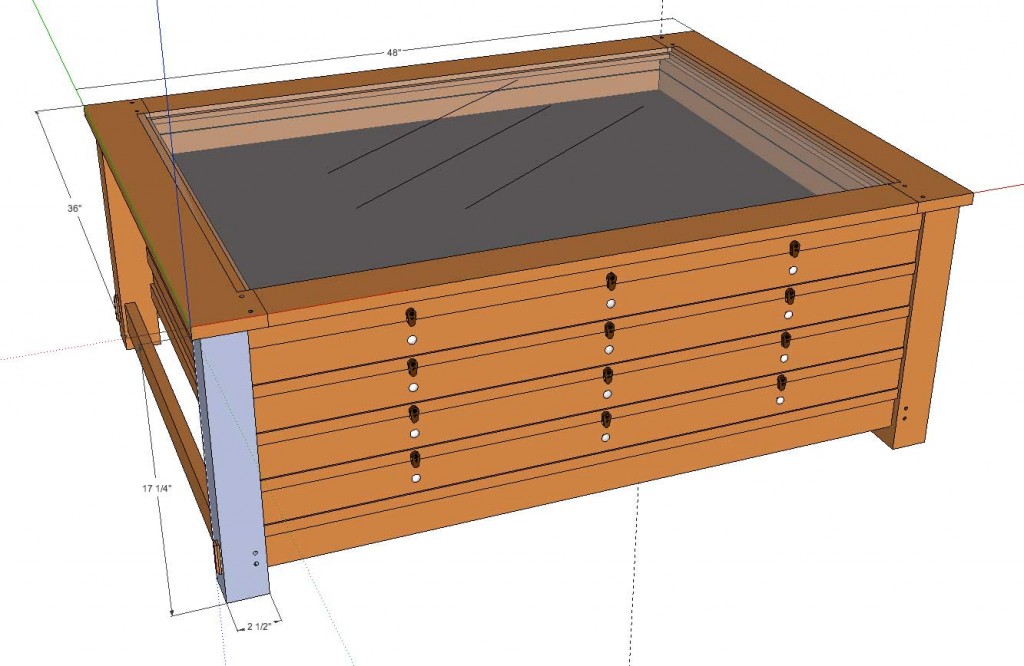
Overall dimensions should be 4′ x 3′ and 18″ tall. The inside dimensions of the drawers will be ~40 by 32 inches.
PS I’ll probably change the table top so the the long edges of the frame will be full length. That is, the long edges will have the mortise and the short edges the tenon. I don’t know why I designed it backwards. I’ll post the completed SketchUp plans when I’m done.