
Futon/sofa sleeper build
 I’m being drawn back to the garage/workshop to build a futon/sofa sleeper for the basement. We’ll need it for a house sitter, rather than have her sleep in our bed, while we’re gone at some unspecified point in the future. And I’ve found a plan that looks about right at Wood Magazine.
I might mention that I’m wild about Arts and Craft furniture and have built a number of pieces, the best being a giant prairie settle for a friend. It was gorgeous, especially after he paid for a leather bench and cushions, and I wish I had built one for myself. But unfortunately I have to settle (pun intended) for a different design because of the requirements of the sofa’s fold-down back — the armrest can’t continue around the back. I also must economize and substitute oak plywood for the solid oak in the plans. Be advised that if you do this the oak plywood probably will be something like 11/16″ or 23/32″ thick, which shouldn’t be too much of a problem, except that I intend to modify the design to include through tenons. I’ll address that issue later.
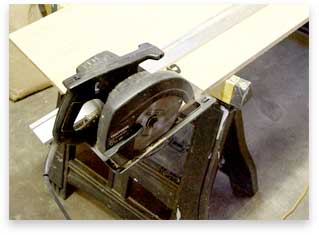 I decided to first tackle cutting the plywood that makes up the seat and backrest, mainly because the 4’x8′ sheet of plywood is a pain to store. But ripping such long pieces in my one-car garage is no easy task and not for the first time, I wished I had a panel cutter, although where would I put it? So I had to clamp down the two-piece aluminum ripping guide and use my circular saw, being careful not to cut through the sawhorses, which I’ve done countless times before.
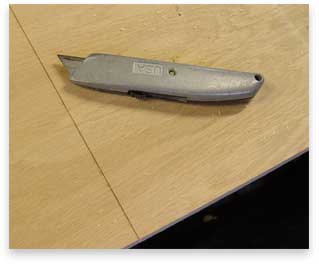 Of course the real bother is making the crosscuts. I could use a fine tooth plywood blade, but there will be still be a lot of tearout. Luckily I’ve figured out that if you score the plywood first, you’ll minimize the tearout. Remember to do it for both sides! I didn’t on the first piece, but luckily the edges of the bad side won’t be visible.
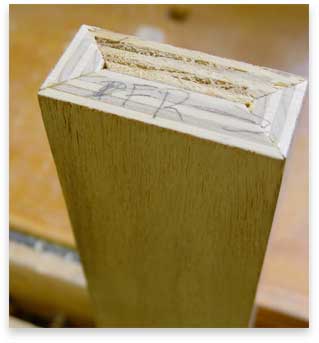 Next I decided to tackle the legs, which like most of the framing in the original plans are meant to be two solid 3/4″ thick pieces glued together. But since I’m using plywood, I would need to iron on some oak veneer to cover the rough plywood edges. So instead I opted for gluing in a V-shaped piece that will give the illusion that I’m using 1-1/2″ thick wood (or 1-7/16″ thick wood). And yes, it’s a pain to do this. Lots of wood putty is required to cover up the mistakes, but I know from experience that after the legs are stained, they’ll look pretty good.
By the way, I really must recommend the plans from Wood Magazine. I’ve overall found them nicely detailed with a consideration for casual woodworkers who probably won’t have easy access to 1-1/2″ thick wood or a mortising tool. By making the legs with two laminated 3/4″ pieces, it’s relatively easy to cut out the channel for the glides without using a router. You can use a jig saw to cut out the channel after making starter holes.
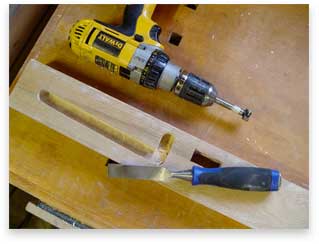 Of course, if you space out and forget to first cut the channel before gluing the pieces together, then it’s time to drill lots of holes with a Forstner bit and chisel out the excess, which actually worked great. Next time, I’ll address cutting the mortises, although I do have the advantage of a mortiser, which I’ll address in the next installment.