
Variable power supply
The buss rails
![]()
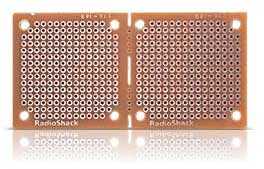
 I made my circuit on half of a RadioShack 276-148. They snap in half and give you a 16-by-15 matrix of holes, just about perfect for my needs. Unfortunately there are no preprinted buss or power rails so I had two choices: either use a lot of jumper wires to connect components or make my own rails. I chose to make rails, first by soldering a connecting piece of copper wire to all components, which proved quite messy. Then I decided to make a rail by pre-drilling holes in a thin sheet of copper, cutting off a strip and laying the strip over the matching holes on the perf board. I bought the thin copper sheet (rolled up in a plastic tube) at a craft store, cut the strip with an X-Acto knife and rolled it flat with a wallpaper seam roller (it curls up after cutting).
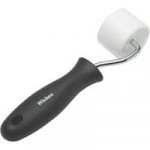
TIP: Burnish the printed circuit board and your homemade rails with a scouring pad or fine grit sandpaper before soldering components. You’ll find your task much easier.
 If you go this route, you’ll need to pre-tin the holes to match the path of the rails. It’s also best to add a few components of whose location you’re reasonably sure and use those pins to hold the rail in place. NOTE: The positive buss does have a break where we switch from the input voltage of the transformer to the output voltage of the LM317.
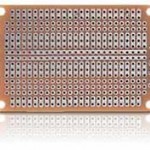
All this is moot, however, if you’re smart and use the RadioShack 276-150 board that has two center rails. It also has shorter rails that make connecting to the LM317 and the potentiometer much easier. The disadvantage of this board is that it does waste a lot of space for a very simple circuit. You could cut it down, of course, but you’ll need a razor saw or Dremel tool to accomplish this.