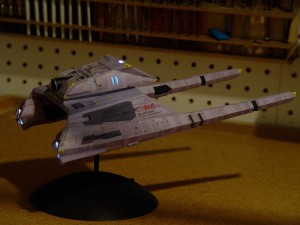
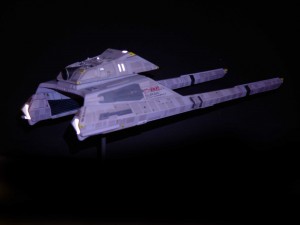
Vulcan warp sled

It’s hard to believe, but I’ve finally finished the Vulcan warp sled and shuttle Surak from Star Trek, The Motion Picture. It’s been over a year in the making and I gave up in disgust after I discovered that decals were silvering (air bubble trapped underneaths) because I still hadn’t gotten my paint formula correct.
But recently I decided to finish it and discovered that while not a perfect build, I really learned a lot from this model. I suppose my most important discovery was my own self made airbrush thinner of 50% isopropyl alcohol (70% rubbing alcohol) and 50% water, mixed 50/50 with Testor’s Model Master Napoleonic Violet paint (lightened with a little white). Unfortunately, I discovered my thinner mixture before painting the warp sled, where the paint was mixed 50/50 with straight alcohol.
 Using straight alcohol with the paint resulted in the paint slightly drying before it reaches the plastic, resulting in a grainy texture not even sprayed Future could repair, and so all my decals silvered, even using MicroSol. But I painted the shuttle pod using the new thinner and found the paint texture much smoother and after a hit with Future almost ready for decals.
I also learned the value of MicroScale’s Liquid Decal Film, which works great to prevent decals disintegrating as you’re trying to place them. I found it’s very easy to brush on the film and it dries invisibly. I also learned the value of tightly trimming decals, but I did not learn the lesson of using a fresh No. 11 blade to cut them out, which led to a lot of curling of the edges. You should also only use the sharpest scissors you own
I also learned once and for all the difference between SolvaSet and MicroSol. SolvaSet really is great for placing a decal in a complicated or curvy surface, but should be the last resort. I think it’s best to use SolvaSet on a dried decal, especially after a couple of pin pricks with the brand new No. 11 to burst those air bubbles. Oh, and you should probably wait a day after spraying your Future coat before applying MicroSol or SolvaSet as they do dissolve Future that hasn’t properly cured.

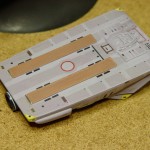
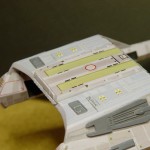
 I tried several tricky things in this build, like powering the shuttle while still making it detachable from the warp sled. I did this by adding bent paperclips to the ends of the recesses in the sled and the pads on the bottom of the shuttle and wiring those to the LEDs in the shuttle and also the 3909 chip to power the strobe at the top of the shuttle. I also ran a fiber optic to the underside of the airlock rim to add a porch light and to a light in the leading edge of the warp sled platform.
One of the big challenges in this model are all the greeblies, that make it hard to sand/buff the paint to a high gloss. I think in future I will try sanding with a toothbrush and a mild abrasive, which hopefully will leave the fine detail.
PS I also discovered that even my beloved Tamiya tape can lift a decal, resulting in the need for a lot more weathering on the port side that I’d intended.
