
Shop tour continues: Router lift
Table of contents for Shop tour
- Shop tour: Rolling pegboard
- Shop tour continues: Tool swapping
- Shop tour continues: Router lift
- Shop tour continues: router fence
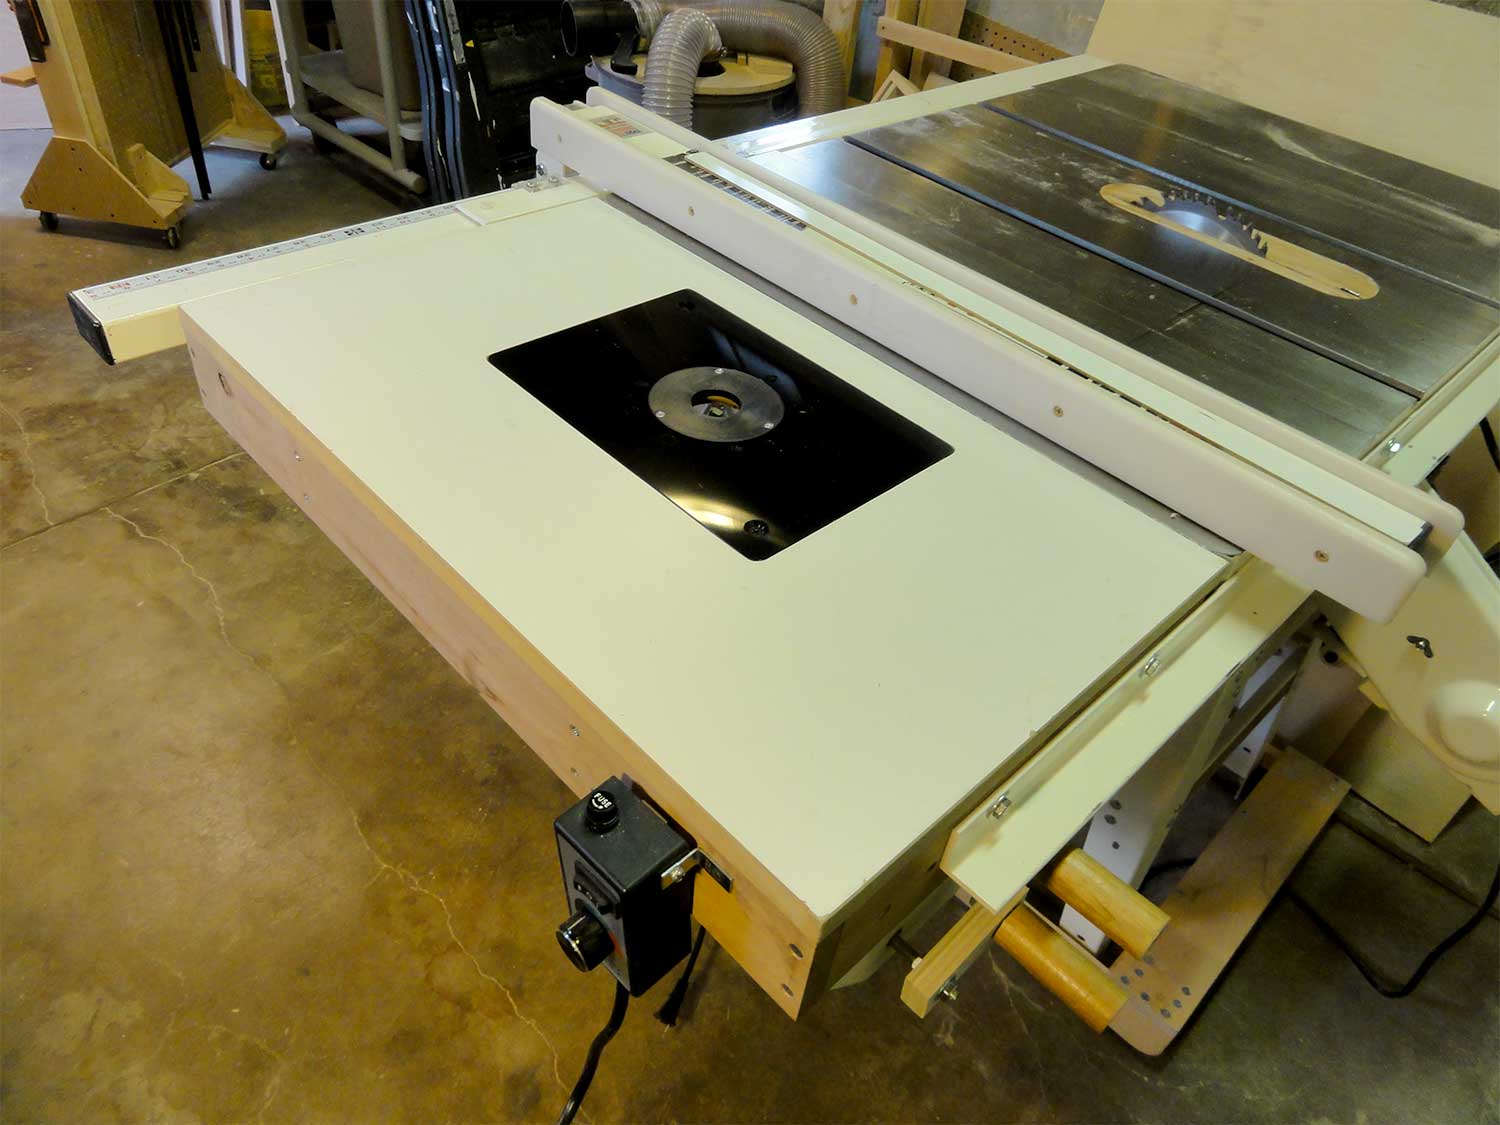

Again, not much space in the garage and certainly no place to put a dedicated router table and so I, like many other woodworkers, have to use one of the extension wings of my table saw as a router table. I had previously made a simplified router table and put it in the extension wing, but there were a number of difficulties with it.
The biggest problem with the previous jury-rigged router table was that it couldn’t be raised and lowered easily and the table top wasn’t flat. My old ½hp ¼” fixed Craftsman router was screwed into a ¼” thick acrylic home-made plate inset into a ¾” MDF top. Unfortunately over time, the acrylic and in fact the entire MDF top sagged from the weight of the router. This meant when I was using the router to do something like make a long dado, the middle of the cut wasn’t as deep as the ends, which proved disastrous for my blanket chest/TV lift build.
Also the depth of cut couldn’t be easily changed. I would have to crawl under the table saw, loosen the nut that allowed the router to slide up and down and then wiggle the router up and down within the fixed base. All that wiggling, however, meant that the router bit relative to the fence would ever so slightly shift, and if I was making a ¾” deep dado in hardwood, that would require several passes at increasing depths. The ¼” router bits I was using and the ½hp motor couldn’t make a deep and wide dado in one pass without risk of the router bit breaking.

So I finally decided to both buy a new 2hp router that could use ½” bits and also build a new table and lift. Cost, of course, was a concern so I actually went the Harbor Freight route. I bought their 2hp router for $70 (on sale now for $53, drat it) and it’s perfect for my needs. It doesn’t have a soft start or LED work light and no dust collection and has a fixed base, but none of that matters when used in a router table. I also bought the Harbor Freight speed control for $25 ( on sale now for $20, double drat it!) so I can adjust the speed for different types of wood.
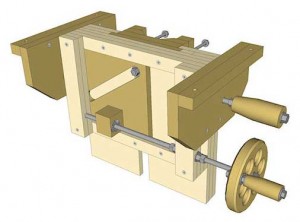
Deciding on the router lift was a more difficult choice. I’d seen various designs for home-made router lifts and they all had their advantages, but I really liked John Heisz’ design at ibuildit.ca. His design is based on the inclined plane to raise and lower the router and his videos are very entertaining and informative and his Sketchup plans are top notch. So I shelled out my $12 bucks and downloaded the Sketchup file and his build instructions.
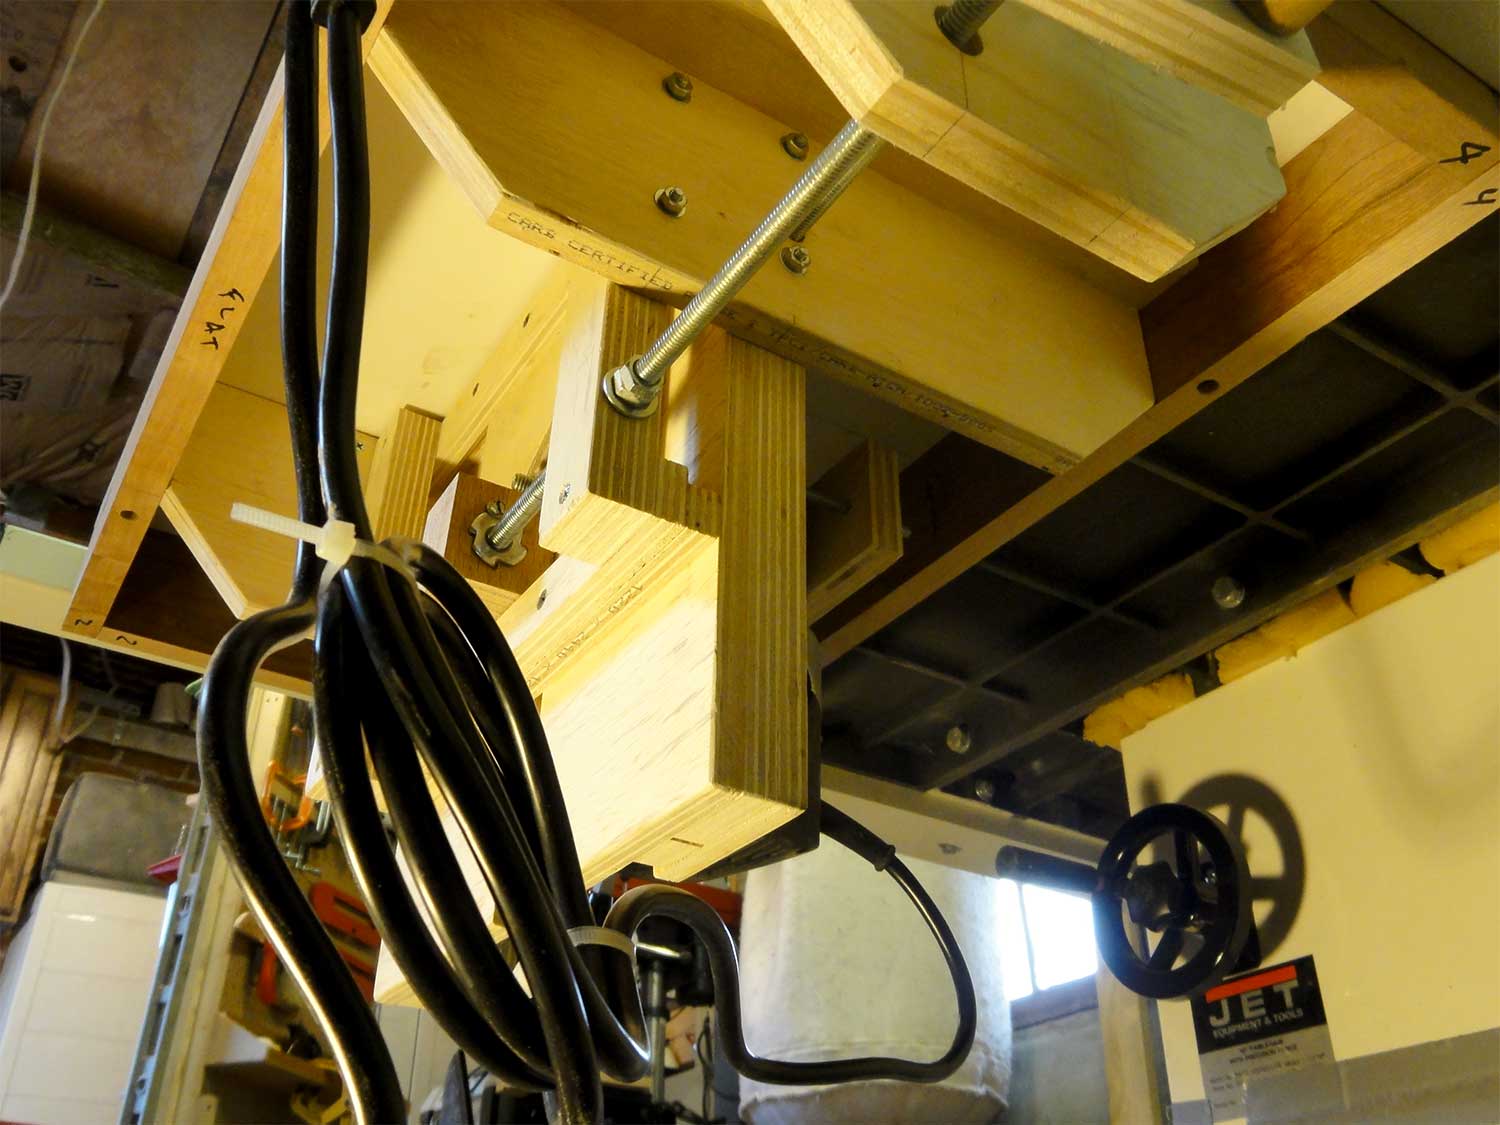
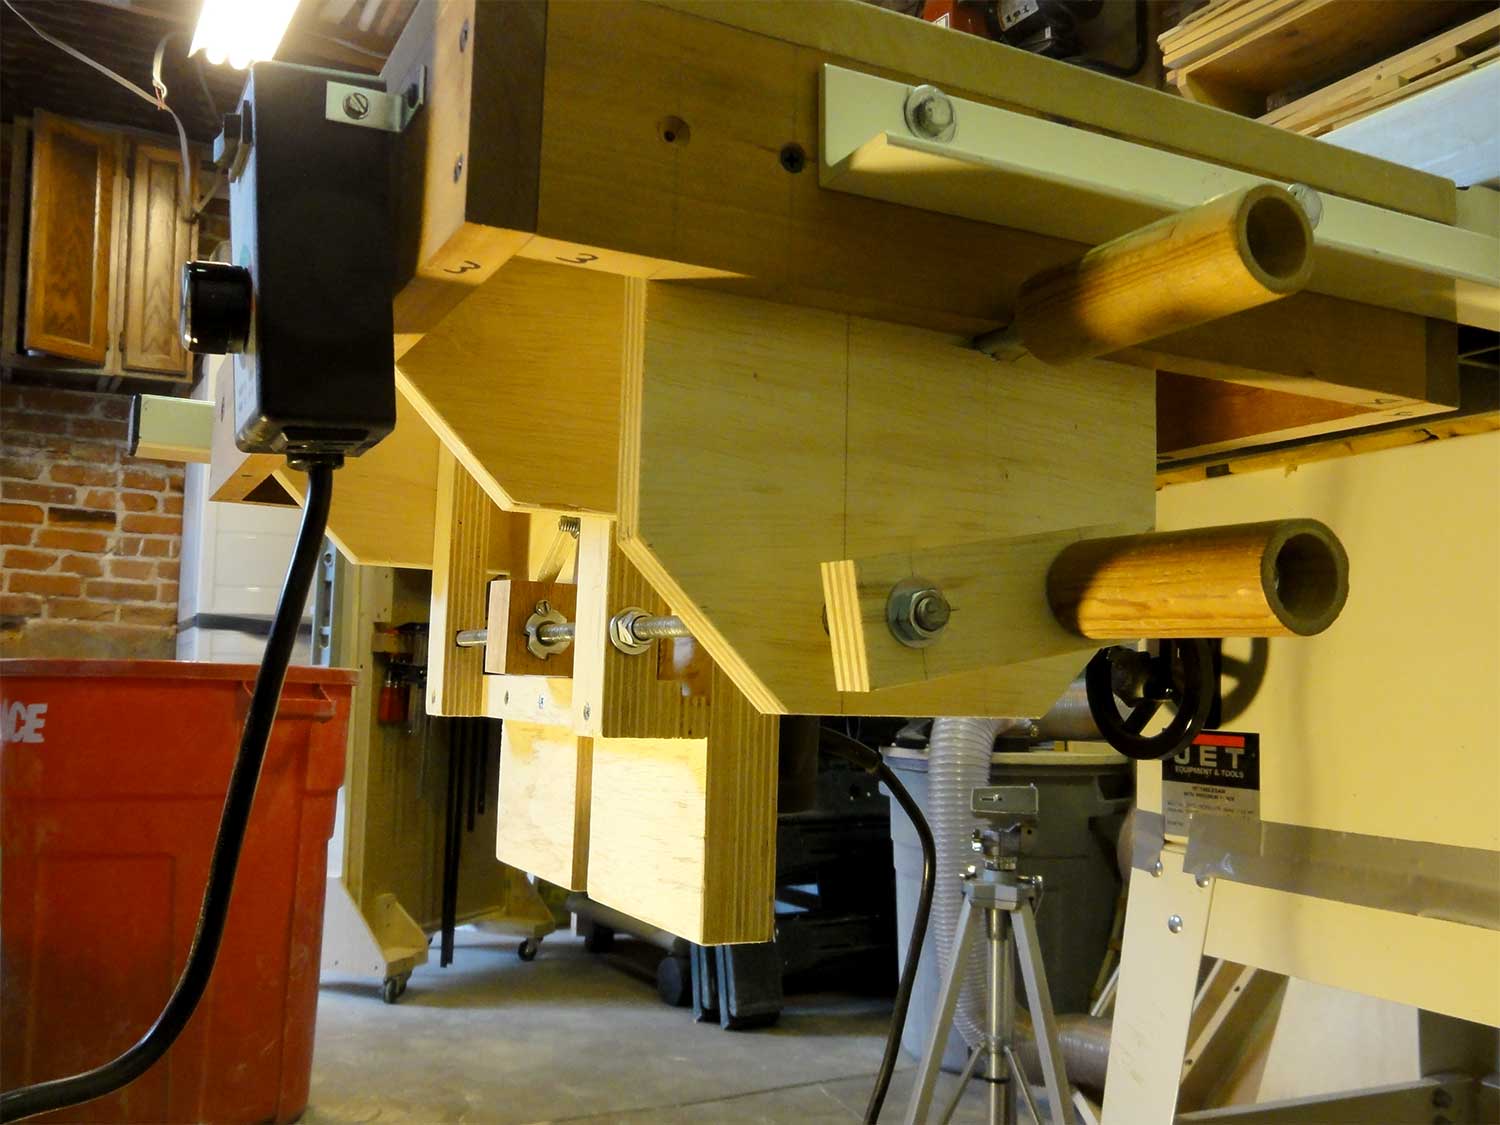
It was a very easy build. I did modify it slightly so that instead of only screwing the lift to the router table top, I also screwed the lift supports into the sides of the extension wing. Those sides have been upgraded to 3″ wide hardwood, which should keep the table top from sagging, despite the increased weight of the lift and the much heavier router.
The lift works by turning a crank that moves a plate with a 45° slot horizontally, forcing another plate that has a bolt ending in a ball bearing to move vertically, which you can see pretty clearly in his video.
My videos are a little harder to make out because I’ve already installed the lift under the table:
I bought a ¼” aluminum router plate bought at Rockler and of course I had to use my old router to make the inset. There’s something weirdly satisfying about using a tool to build a tool that replaces the tool you’re using to build the new tool. Of course, I now have my old router to use for hand-held operation and a dedicated router that’s powerful enough to get the job done.
Next up, I’ll post about the router fence I built earlier.