
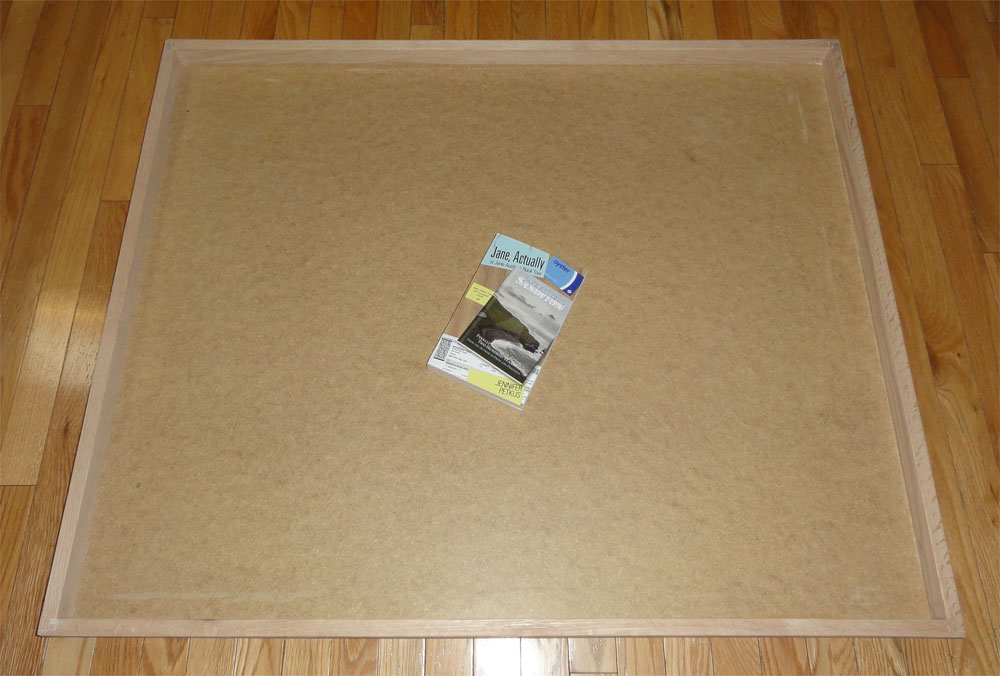
Document case drawers completed
Table of contents for Document case
- Back to the garage: Document case/coffee table
- Document case drawers completed
- Coffee table carcass and drawers finished
- Finished document case
Work on the document case took a back seat to publishing my latest novel (the timetable was advanced slightly because of an early, good review), but I have managed to finish the four drawers, which thankfully went together easily.
If you’ve read the previous post, you’ll know that I’ve joined the drawer sides to the fronts with locking rabbet joints rather than dovetail joints. I’ve avoided dovetail joints like the plague and besides, the depth of the drawers (2-1/4″) would make it difficult (or so I tell myself). The locking rabbet joint, I think, is a pretty good compromise as it gives a lot of glue area, and is easy to cut on the table saw if you make a jig.
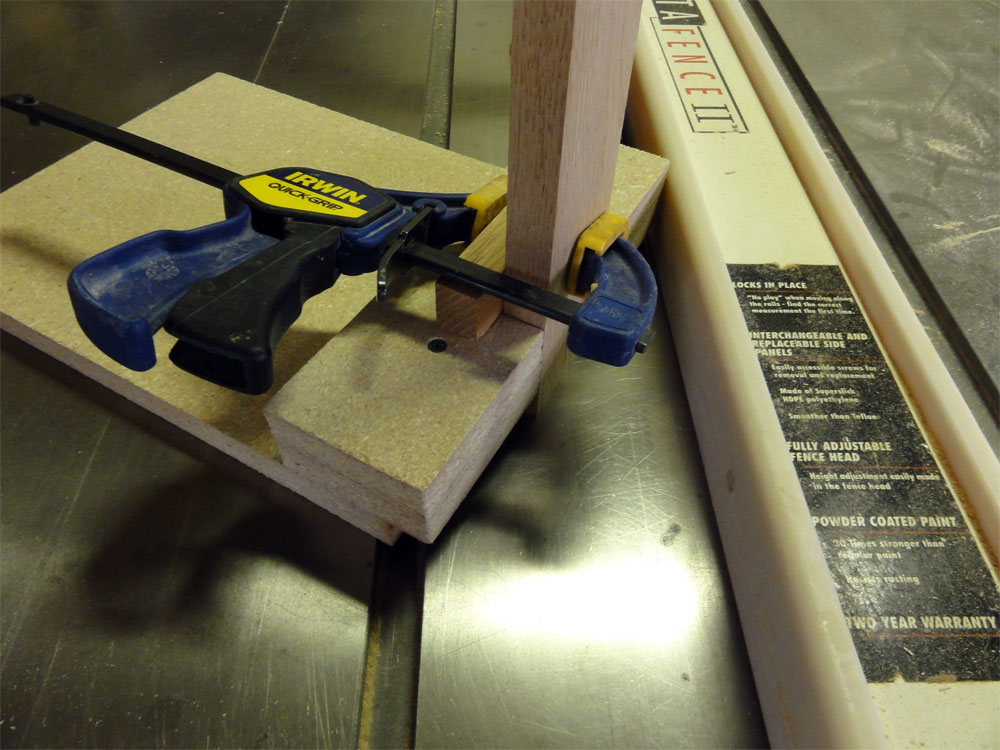
The jig I created was just a bed of particle board with a notch to hold the drawer fronts vertically. I clamped the drawer front to the jig and ran it through the table saw with an outer and inner dado set to make the 1/4″ slots. Tearout is a problem, so I used a chisel to make a separation line. The drawer sides were much easier to cut with the aid of a miter sled: again, simple dado cuts.
Two of the drawers went together easily, despite the large size of the drawers. The 3/16″ hard board drawer bottoms easily slipped into the provided groove. The last two drawers (assembled a few days later) didn’t behave, however. On both drawers, a segment of one of the drawer sides broke off while dry fitting, but fortunately not the whole width of the board.
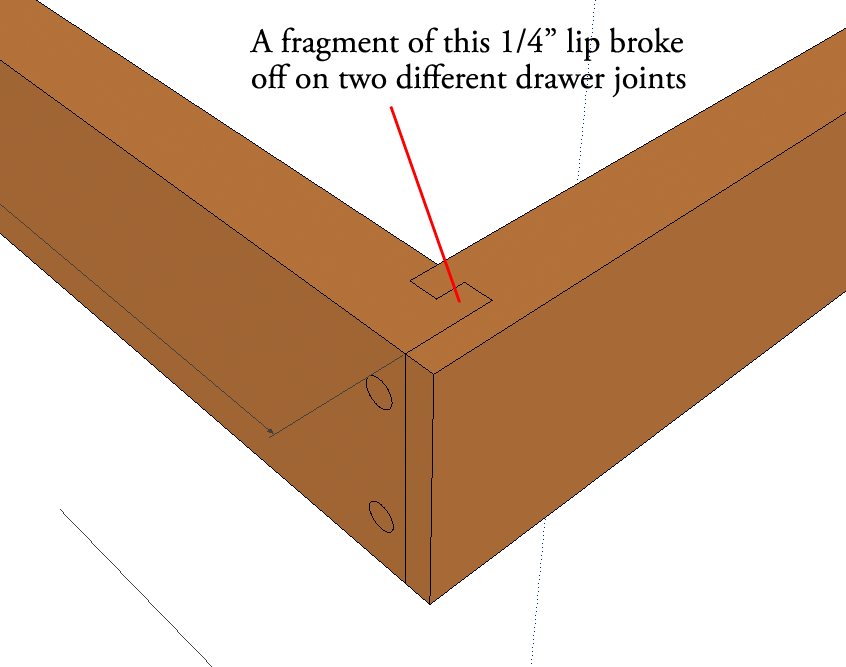
By the way, the drawing above shows the dowels that lock the joints on the drawer sides. Once I was in the garage, it was obvious the dowels needed to go through the front of the drawers.
The last two drawers also required a lot of rubber mallet work to make the drawer bottoms fit into the grooves, but I don’t think the finished pieces reflect the difficulties.
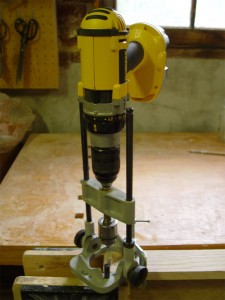
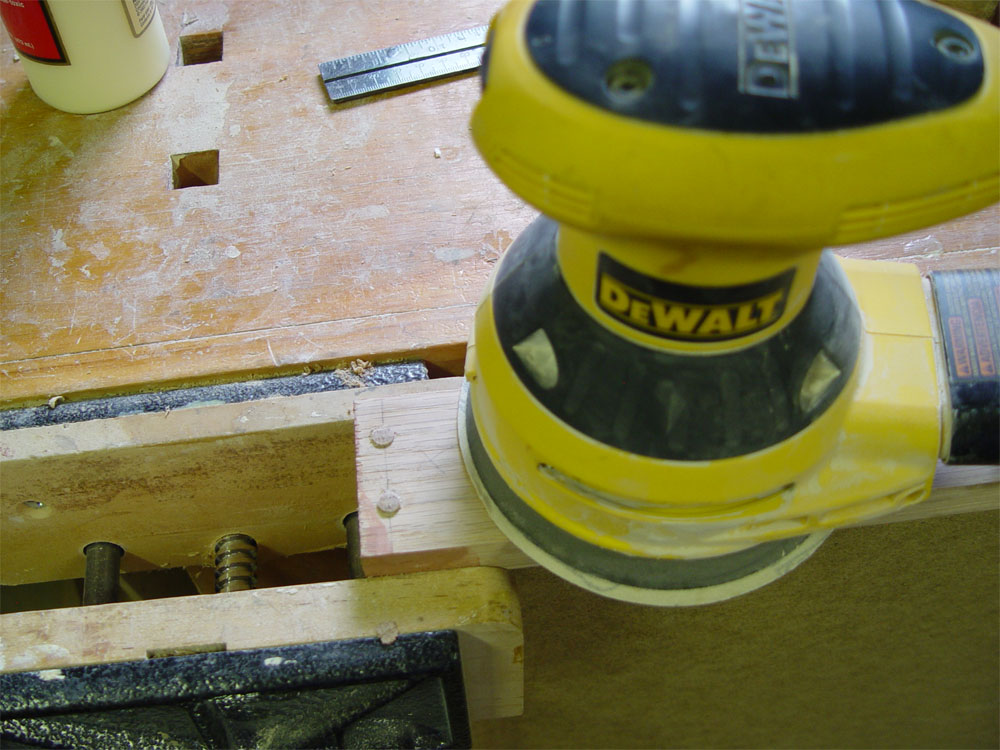
I drilled the holes for the dowels with a 1/4″ Forstner bit and used a drill guide for a straight hole. The first few dowels required a flush cut saw to take off the excess, but I eventually gauged the length of the dowels better and all that was required to make them flush with the drawer front was a quick pass with the sander.
 I’ve just bought the wood to start building the carcass and will start on that tomorrow.